Running WLED on SP501E LED-Controllers
In 2020, I got myself a few SP501E LED Controllers to experiment with. Over time, I have installed those, and embedded them in a bunch of home assistant automations.
Make sure to read the first post, where much of this is explained in detail.
Over time, I reprogrammed most of the controllers from esphome to WLED. There a few reasons: While the esphome-Firmware has a much wider field of use, WLED allows for more creativity. It has more effects included, slightly better control features (see the image below), a better User Interface for direct control, and allows for out-of-the-box remote control using Show Control software (sACN, Art-Net) or other projects like LedFX.
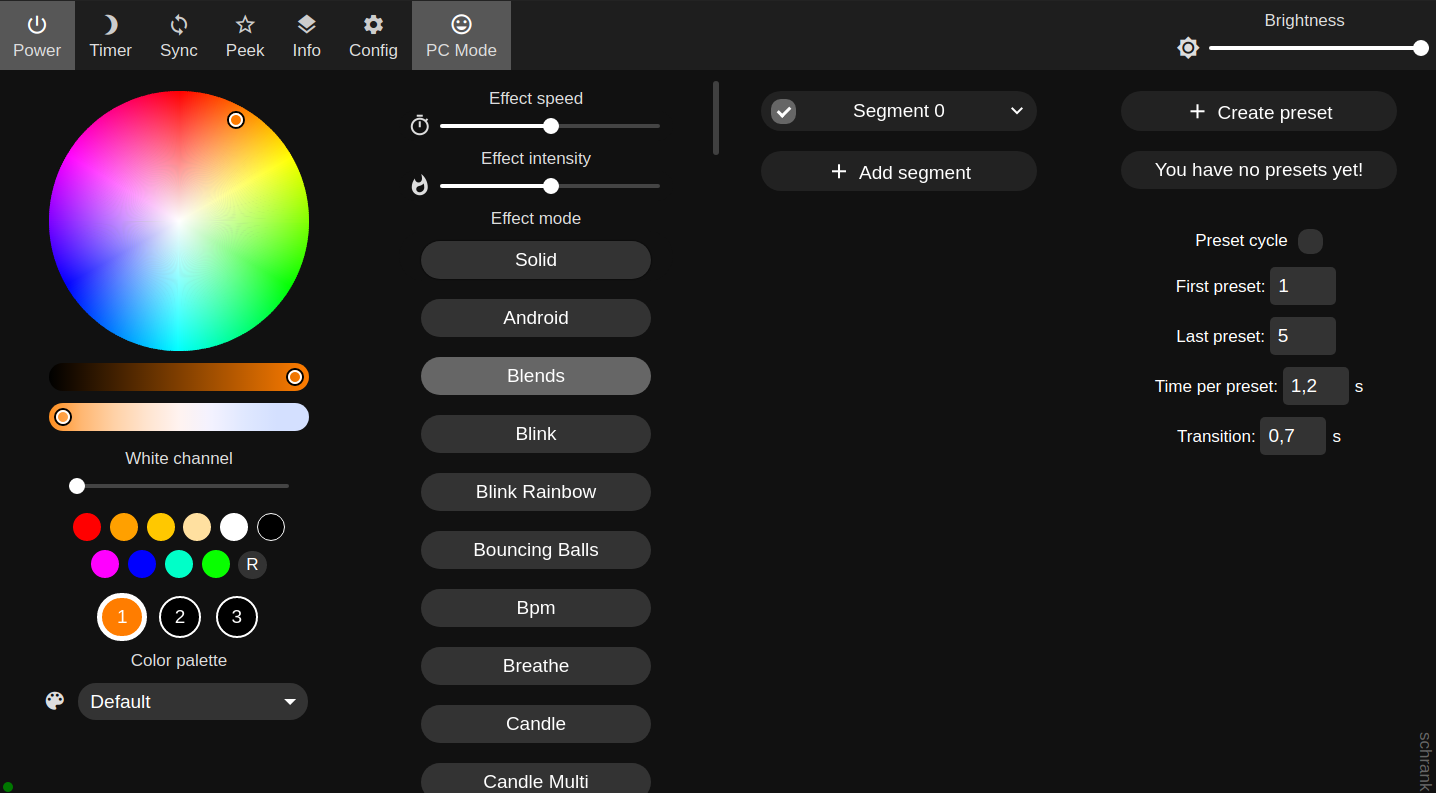
Webinterface of WLED on an SP501E
The integration into HomeAssistant is similarly straightforward as with esphome: Add the WLED integration, enter the IP address, and you are ready.
But how to flash the WLED Firmware?
Unfortunately, there is no ready-for-flashing binary available as WLED release. Therefore, we need to build our own image, which is easier than it sounds.
At first, you need to prepare the Hardware as usual for flashing:


Make sure that PlatformIO is installed, and you have cloned the Repository. I suggest checking out the latest tagged release version.
Thereafter, you can simply compile and upload WLED for the SP501E. The dependencies are automatically loaded by PlatformIO.
cd WLED
pio run -e sp501e
You may manually upload using pio run -e sp501e -t upload. You can also find the firmware directly in a hidden subfolder (.pio/build/sp501e/firmware), e.g. for use with esptool (esptool.py write_flash 0x0 .pio/build/sp501e/firmware.bin) or an OTA method.
After flashing, power cycle the SP501E (don’t forget to unplug the GPIO0 - Ground-Connection): You’re done. You now should see the WLED Access Point for configuration.
I usually add the SP501E with WLED to my Local IOT-Network, and assign them a static DHCP IP in my router to add the IP to Home Assistant. You can further configure them via their Web Interface, it is generally useful to give them a proper name (Config -> User Interface -> Server Description). You should also check the LED preferences to match your setup in terms of LED Type, power supply capabilities, number of pixels etc.
Please note that SP501E resources are limited (especially flash), therefore SP501E support is likely to be dropped for new releases.
Now it is time to spread SP501E Devices with LED Stripes attached around your home, automate them and enjoy the atmosphere. For example, I programmed a light-based alarm clock simulating a sunrise when it is time to get up.